Use the Button nodes to create interactions through clicking, tapping, or pressing a key on the keyboard. Use Button 3D to create a 3D button and Button 2D to create a 2D button.
Kanzi allows you to create buttons using:
State managers
Triggers and actions
The difference between the two approaches is that when you use the state manager you always know in which state the button is. For example, when a user clicks a button created with triggers and actions, the action sends the message, but your application is not aware of the state of the button. When you use the state manager, you can always check which state the button is in and even revert the state when needed. See Creating state managers.
When you use triggers and actions to create a button, and the user clicks the visual representation of a button, the action generates a message that travels to the button object where you can define the behavior for that message.
When you create a Button node, Kanzi by default adds a Button: Click trigger to that node. When a Button node has focus, it receives click input from the keyboard keys Space, Enter, and Enter on the numeric pad.. Use scripting functions to get and set the node that currently has focus in the project. See Scripting reference and Using triggers.
You can add other triggers to a Button node as well. For example, you can add messages that are triggered when a user presses down a mouse button or cancels a click. See Using triggers.
When you create a button it does not have a visual shape. To make buttons visible, you have to add an object to a button.
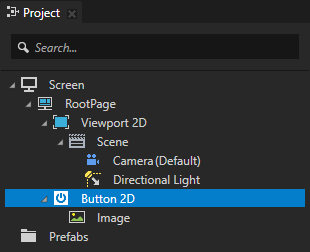
In the Projectpress Alt and right-click the object where you want to create a button and select either Button 3D, or Button 2D. Note that you can create a 3D node only inside 3D nodes, and 2D node only inside 2D nodes.
In the Project add a visual shape to the button. For example, if you created a 3D button, add a Box, if you created a 2D button add an Image.
In the Project select the button, in the Node Components > Triggers section in the Button: Click trigger click the Add dropdown menu, and select an action. For example, select the Write Log action and set its Log Message property to <Name>. In the Preview when you click the visual representation of the button the Write Log action writes the name of that object to the Log window.
(Optional) Use the Button triggers that come with Kanzi to define the behavior of your Button nodes. See Using triggers.
Controlling the behavior of a Button node
Use state managers or triggers to define how a Button node reacts to user input. For example, you can set how a button looks when the user presses or releases that button. To learn more about creating buttons using a state manager, see Tutorial: Creating a button.
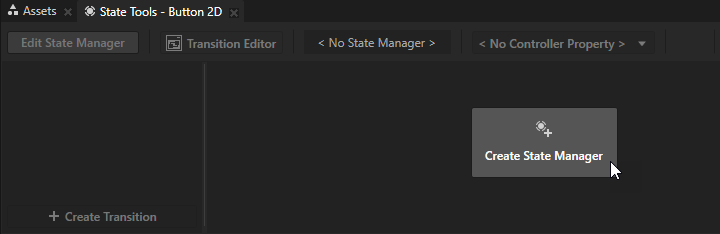
In the Project select the Button node for which you want to create states and in the State Tools create a state manager for that node.
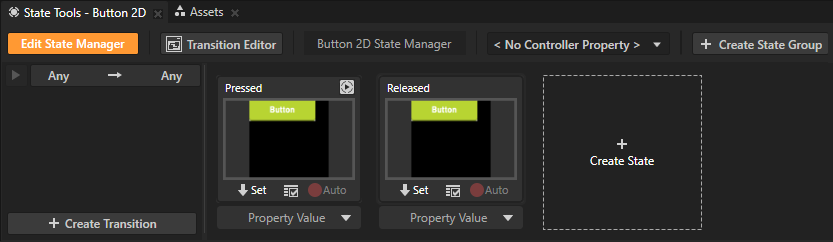
Create two states, one that defines the button when it is pressed, and another that defines the button when it is released.
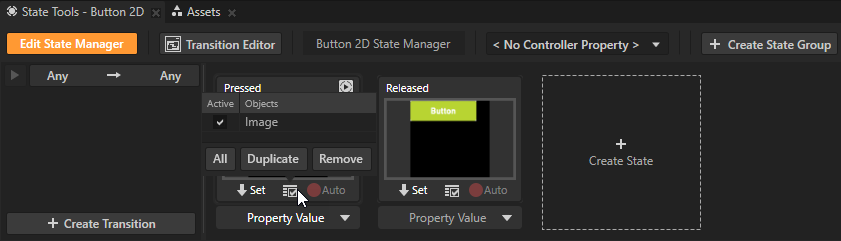
For each state, set the value of the property which sets the visual shape of the Button node. For example, to set how a Button 2D node looks when it is pressed, in the Image node set the Image property to the image which you want to use when the button is pressed.
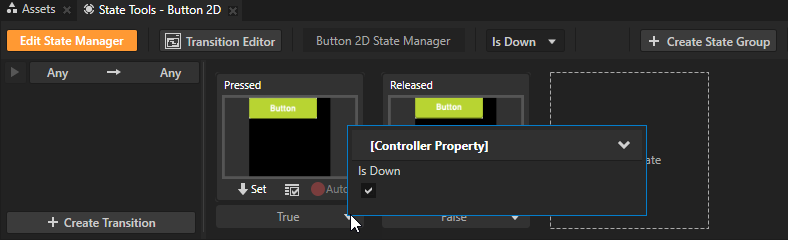
In the State Tools for the state manager which controls the Button states set the Controller Property to Is Down. In a state manager the value of the property you select as the Controller Property defines the conditions when each state in a state group is active. Here you use the Is Down property to transition to a state based on the value of that property. The Is Down property controls whether a Button node is in a pressed or non-pressed state.
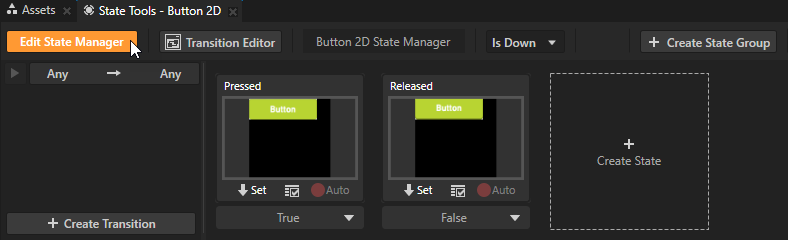
In the State Tools set the value of the Controller Property in the Pressed state to True. By doing so your Kanzi application uses the Pressed state when the button is pressed and the Released state when the button is not pressed.
In the State Tools click Edit State Manager to deactivate the State Tools.
Using Button triggers
Use the Button triggers that come with Kanzi to define the behavior of your Button nodes. To learn more about using triggers, see Using triggers.
Button: Cancel trigger is set off:
When you first press down the button, then move the pointer outside of the button area, and lift the pointer.
When you set off a Button: Long Press trigger.
You set off a Button: Click trigger when you press down and then release the button while the pointer is still within the button area.
Button: Down trigger is set off when you press down the button.
Button: Enter trigger is set off:
When you press down the button.
When you press down the button, move the pointer outside of the button area, and then move the pointer back to the button area while still holding down the pointer.
Button: Leave trigger is set off:
When you press down the button and then lift the pointer.
When you press down the button and then move the pointer outside of the button area.
When you set off a Button: Long Press trigger.
You set off a Button: Long Press trigger when you press down the button and hold the button pressed for the amount of milliseconds defined in the Hold Interval property of that button.
Setting the background of a Button 2D
Use brushes to set the background of 2D nodes. In Kanzi all 2D nodes by default have transparent background.
To set the background:
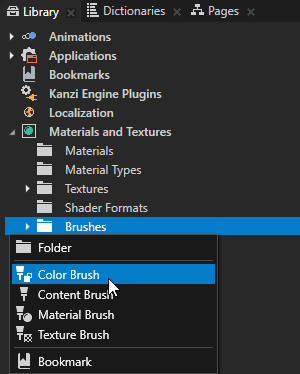
Create a Color Brush, a Texture Brush, or a Material Brush. See Using brushes.
In the Project select the 2D node the background of which you want to paint. Note that you can set only the background of 2D nodes.
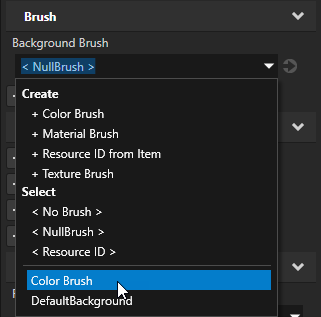
In the Properties add the Background Brush property and select the brush you created in the first step.